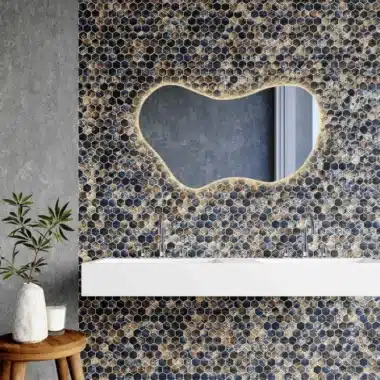
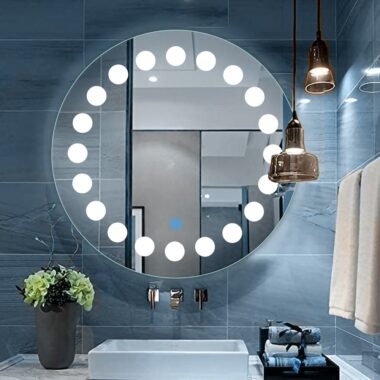
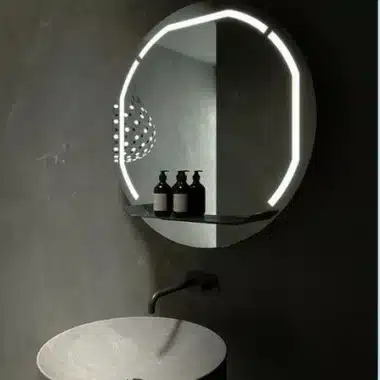
LED Mirrors for Uneven Walls: Installation Adjustments
Installing LED mirrors can greatly enhance the aesthetics and functionality of your bathroom, bedroom, or vanity area. However, mounting an LED mirror on an uneven wall can present a unique challenge. An uneven wall can result in gaps, improper alignment, and a distorted reflection, which could affect both the look and usability of the mirror.
While the installation of LED mirrors on perfectly level walls may seem straightforward, uneven walls require additional considerations. In this article, we will explore the challenges posed by uneven walls and provide solutions for successfully installing LED mirrors with minimal hassle. From identifying the root causes of uneven walls to making necessary adjustments, this guide will help you achieve a perfect setup.
Understanding the Challenges of Uneven Walls
Before we discuss the installation process, it’s important to understand what qualifies as an “uneven” wall and why it can complicate mirror installation.
An uneven wall can be caused by:
Natural Settling of the Structure: Over time, the building structure may settle, leading to slight variations in the angle and height of the walls.
Improper Construction or Drywalling: If the walls weren’t constructed or finished properly, they may have bowing or leaning issues.
Wear and Tear: Over time, moisture and humidity can cause warping, especially in bathroom areas, leading to an uneven surface.
These issues can affect the mirror’s positioning, causing the LED lighting to appear uneven and the reflective surface to seem out of alignment.
Assessing the Wall for Unevenness
The first step in installing an LED mirror on an uneven wall is to accurately assess the extent of the unevenness. Here’s how you can do it:
Use a Level: A simple way to check for wall unevenness is to use a spirit level or a laser level. Place the level vertically and horizontally across different sections of the wall to identify variations.
Measure the Wall: Use a measuring tape to measure the distance between the wall and the mirror at various points. This will help you understand if the wall is slanting or bowing.
Visual Inspection: Look for visible cracks, bulges, or gaps along the surface. These could indicate structural issues that need addressing before installation.
Once you’ve assessed the level of unevenness, you’ll be in a better position to decide which adjustment methods are necessary.
Solutions for Installing LED Mirrors on Uneven Walls
There are several strategies to handle uneven walls during the installation of LED mirrors. These solutions can help you achieve a level installation and ensure that your mirror remains securely mounted.
1. Shimming the Mirror
Shimming is one of the most common and effective ways to level out a mirror when installing it on an uneven wall. Shims are thin, flat pieces of material—usually wood, plastic, or metal—that are inserted behind the mirror to adjust its positioning.
How to shim the mirror:
After marking the desired position for the mirror, use a level to determine which areas of the wall are uneven.
Insert shims behind the mounting brackets or directly behind the mirror frame at the points where the wall is uneven. The thickness of the shim should match the gap between the mirror and the wall.
Adjust the shims until the mirror is perfectly level, then securely fasten it to the wall.
Benefits of Shimming:
Quick and relatively inexpensive.
Allows for minor adjustments to align the mirror.
Effective for both minor and moderate wall unevenness.
2. Using Wall Anchors or Toggle Bolts
When dealing with an uneven wall, traditional screws and anchors may not provide the support needed, especially if the wall is particularly weak or has varying surface depths. In such cases, wall anchors or toggle bolts can provide extra stability.
How to use wall anchors or toggle bolts:
Start by marking the spots where the mirror will be mounted, ensuring that the location is in line with your desired height.
For uneven areas, use wall anchors or toggle bolts that expand once inserted, providing strong hold and compensating for gaps between the wall and the mirror.
This method can also help ensure that the weight of the mirror is evenly distributed, particularly if the wall’s structure is compromised.
Benefits of Wall Anchors:
Provides secure mounting, even on uneven or weak walls.
Ideal for heavier LED mirrors or mirrors that require extra support.
3. Using a Custom Frame or Backing
In some cases, the unevenness of the wall may be too significant to resolve with simple adjustments or shimming. In such instances, creating a custom frame or backing for the LED mirror can be a solution.
How to install with a custom frame:
Build or purchase a custom frame that can be mounted directly on the wall, bypassing the uneven surface.
Ensure that the frame is level and securely attached to the wall using heavy-duty screws or wall anchors.
Once the frame is mounted, attach the LED mirror to the frame, ensuring that it is properly aligned and secure.
Benefits of a Custom Frame:
Allows for the complete bypassing of the uneven wall surface.
Provides a more decorative or personalized look.
Offers a stable mounting surface for mirrors that cannot be mounted directly to the wall.
4. Adjusting the Mirror’s Mounting System
Many LED mirrors come with adjustable mounting systems that allow for some level of flexibility during installation. If your mirror features adjustable mounts, you can use these settings to correct minor unevenness.
How to adjust the mounting system:
Before mounting, assess the mirror’s hanging system and determine if it allows for any fine-tuning.
Make small adjustments to the mounting brackets or hardware to accommodate for wall variations.
Once the mirror is hung, use a level to check its alignment, and make final adjustments to achieve the desired position.
Benefits of Adjustable Mounts:
Easier installation with built-in flexibility.
Ideal for mirrors that offer multiple mounting positions.
5. Addressing Wall Unevenness Before Installation
If the unevenness of the wall is substantial, it may be worth addressing the issue before mounting the LED mirror. This can involve repairing and leveling the wall to create a smooth, even surface for the mirror.
How to address wall unevenness:
Use joint compound or drywall filler to fill in any gaps or cracks.
Sand the wall smooth once the compound is dry.
Repaint or finish the wall to match the surrounding surface.
This method may require more time and effort, but it ensures a flawless mirror installation without the need for additional adjustments.
Benefits:
A permanent solution to wall unevenness.
Ideal for a smooth, professional-looking installation.
Final Thoughts
Installing an LED mirror on an uneven wall doesn’t have to be an overwhelming task. With the right adjustments and tools, you can achieve a level and secure installation that maximizes the visual impact of your mirror while ensuring optimal functionality.
By using shims, wall anchors, custom frames, or adjusting the mirror’s mounting system, you can easily work around the challenges posed by uneven walls. In some cases, addressing the wall’s unevenness before installation may be the best option for a clean, lasting setup.
No matter the condition of your wall, with the right approach, your LED mirror can be installed securely and look perfect, even on an uneven surface.
FAQs
Can I install an LED mirror on a severely uneven wall?
Yes, but you may need to use a custom frame or backing to ensure a secure and level installation.
How do I know if my wall is uneven?
Use a level to check the vertical and horizontal alignment of your wall. Measure at different points to assess the extent of unevenness.
What if the wall is too uneven for shimming?
Consider using wall anchors, toggle bolts, or a custom frame to create a stable surface for the mirror.
Are adjustable mounts available for LED mirrors?
Yes, many LED mirrors come with adjustable mounting systems that allow for slight adjustments during installation.
How can I repair wall unevenness before installing the mirror?
Use joint compound or drywall filler to smooth out the wall, then sand it and repaint it to create an even surface.
Can LED mirrors be installed on tiled or concrete walls?
Yes, but the installation may require special anchors or drills for hard surfaces like tiles and concrete.
Conclusion
Installing LED mirrors on uneven walls is entirely possible with the right knowledge and techniques. Whether you choose to shim the mirror, use wall anchors, or adjust the mounting system, there’s a solution for every wall type. By taking the time to make necessary adjustments, you can ensure your LED mirror not only looks great but functions flawlessly, even on less-than-perfect walls.