How to Replace LED Strips in Your Mirror? (Easy Guide)
Replacing LED strips in your mirror is a manageable task that can be done by most DIY enthusiasts, even if you don’t have extensive electrical experience. Whether the LED strip has stopped working or you simply want to update the lighting, this easy-to-follow guide will walk you through the process step-by-step. Keep in mind, safety is key when handling electrical components, especially in a bathroom or wet area.
Materials You’ll Need
Before starting the replacement process, ensure that you have the following materials and tools ready:
Replacement LED strip (make sure it matches your original one in size and voltage)
Adhesive (if the new LED strip doesn’t come with adhesive backing)
Scissors or a utility knife (to cut the strip, if necessary)
Electrical tape or connectors (if required for the wiring)
Screwdriver (for removing the mirror, if necessary)
Power source (make sure the power is turned off before beginning)
Soldering iron (optional, if your mirror’s LED strips are soldered and you need to make electrical connections)
Step 1: Turn Off the Power
Safety First: Always disconnect the mirror from its power source before beginning. If your mirror is hardwired, turn off the electricity at the circuit breaker. If it’s plugged into an outlet, unplug it.
Step 2: Remove the Mirror from the Wall (If Necessary)
In some cases, you may need to remove the mirror from the wall to access the LED strips. This is especially common for mirrors with built-in LED lights. If the mirror is mounted on the wall:
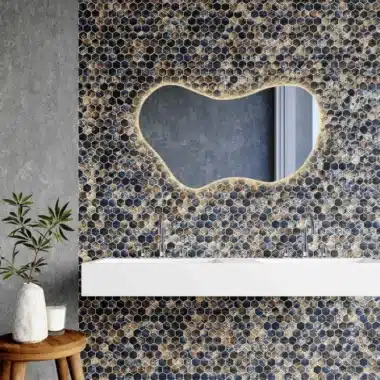
Replace LED Strips in Your Mirror
Unscrew the brackets holding the mirror in place.
Carefully remove the mirror from the wall and place it on a soft surface to prevent any damage to the mirror or glass.
Step 3: Inspect the Existing LED Strip
Once the mirror is safely off the wall (if required), inspect the existing LED strip:
Check the wiring: Take a look at how the existing LED strip is connected. Some LED strips are connected via wires and connectors, while others may be soldered directly to the mirror’s circuitry.
Remove the old strip: If the LED strip is stuck to the mirror with adhesive, carefully peel it off. Be cautious not to damage the mirror surface or any other components. If it’s attached with screws or brackets, remove them using a screwdriver.
Step 4: Cut the New LED Strip (If Needed)
If your replacement LED strip needs to be cut to fit:
Measure the length needed for your mirror.
Most LED strips come with clear cut lines, usually marked with dotted lines or scissor icons.
Use scissors or a utility knife to carefully cut the strip at the designated marks.
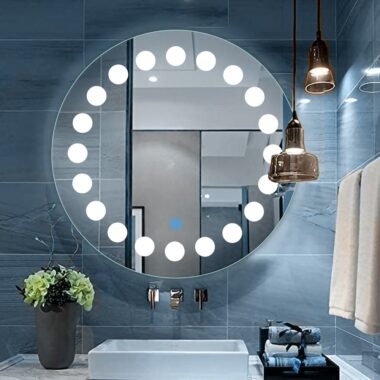
Replace LED Strips in Your Mirror
Step 5: Prepare the New LED Strip
Once the new LED strip is cut to the appropriate size:
Remove the backing (if your LED strip has adhesive on the back). This will reveal a sticky surface that will adhere to your mirror.
Check the wiring: If your new LED strip doesn’t come with pre-attached wiring or connectors, you’ll need to prepare the wires for connection. You may need to solder the connections if the wires are not already provided with connectors. Otherwise, use electrical connectors to make a secure connection.
Step 6: Attach the New LED Strip
Apply the adhesive: If your new LED strip has adhesive backing, carefully align the strip with the area where the old one was located. Press down firmly along the length of the strip to ensure good adhesion.
Use additional adhesive: If necessary, use additional adhesive along the edges of the strip to make sure it stays in place.
Step 7: Connect the Wiring
Connect the wires: If your LED strips require wiring, connect the wires to the appropriate terminals on the mirror’s power source. Make sure that the polarity is correct (positive and negative terminals should match). If you’re unsure, refer to the manual or the instructions for the LED strip.
If necessary, use electrical tape or connectors to secure the wires in place.
Ensure a good connection: Double-check that all wires are securely connected to avoid any loose connections.
Step 8: Reinstall the Mirror (If Removed)
Once the new LED strip is in place and all the wiring is securely connected:
Reattach the mirror to the wall if you had to remove it earlier.
Make sure all screws or brackets are tightened properly.
Step 9: Power On and Test
After ensuring that everything is securely in place, turn the power back on at the circuit breaker or plug the mirror back into the electrical outlet.
Test the new LED strip by turning it on and ensuring that the lights work properly. If the LED strips don’t light up, double-check the connections to ensure they are secure.
Step 10: Final Touches
Check for any issues: Once the power is on, inspect the strip to ensure that the light is evenly distributed and no areas are flickering or dim.
Clean the mirror: Before completing the project, clean the mirror’s surface to remove any fingerprints or dust from the installation process.
Tips for Maintaining Your LED Strip
Keep it dry: Ensure the LED strips are kept dry and away from moisture to prolong their lifespan.
Regular cleaning: Clean the surface of the mirror and LED strips regularly to prevent dust buildup.
Check connections: Periodically check the connections for any signs of wear or loose wiring, particularly in areas exposed to moisture or humidity.
Conclusion
Replacing LED strips in your mirror is a straightforward DIY project that can be done in a few simple steps. Whether you’re updating the lighting or replacing faulty LEDs, following this guide will help ensure a successful replacement. Always take safety precautions, use the correct materials, and double-check your connections for a safe and functional result!